Create a Resilience Probe
Before you begin
You can learn about the concept of resilience probes here and chaos experiments here.
Here are some characterstics of resilience probes.
- Unique Identifier: Each Resilience Probe is identified by a unique name, serving as its identifier. Probe names cannot be reused for a given fault.
- Deletion Behavior: Deleting a Resilience Probe will disable it from further use but does not delete it from the system. This ensures that the probe's history and configuration remain intact for reference and analysis.
For this user guide, we will use a HTTP probe.
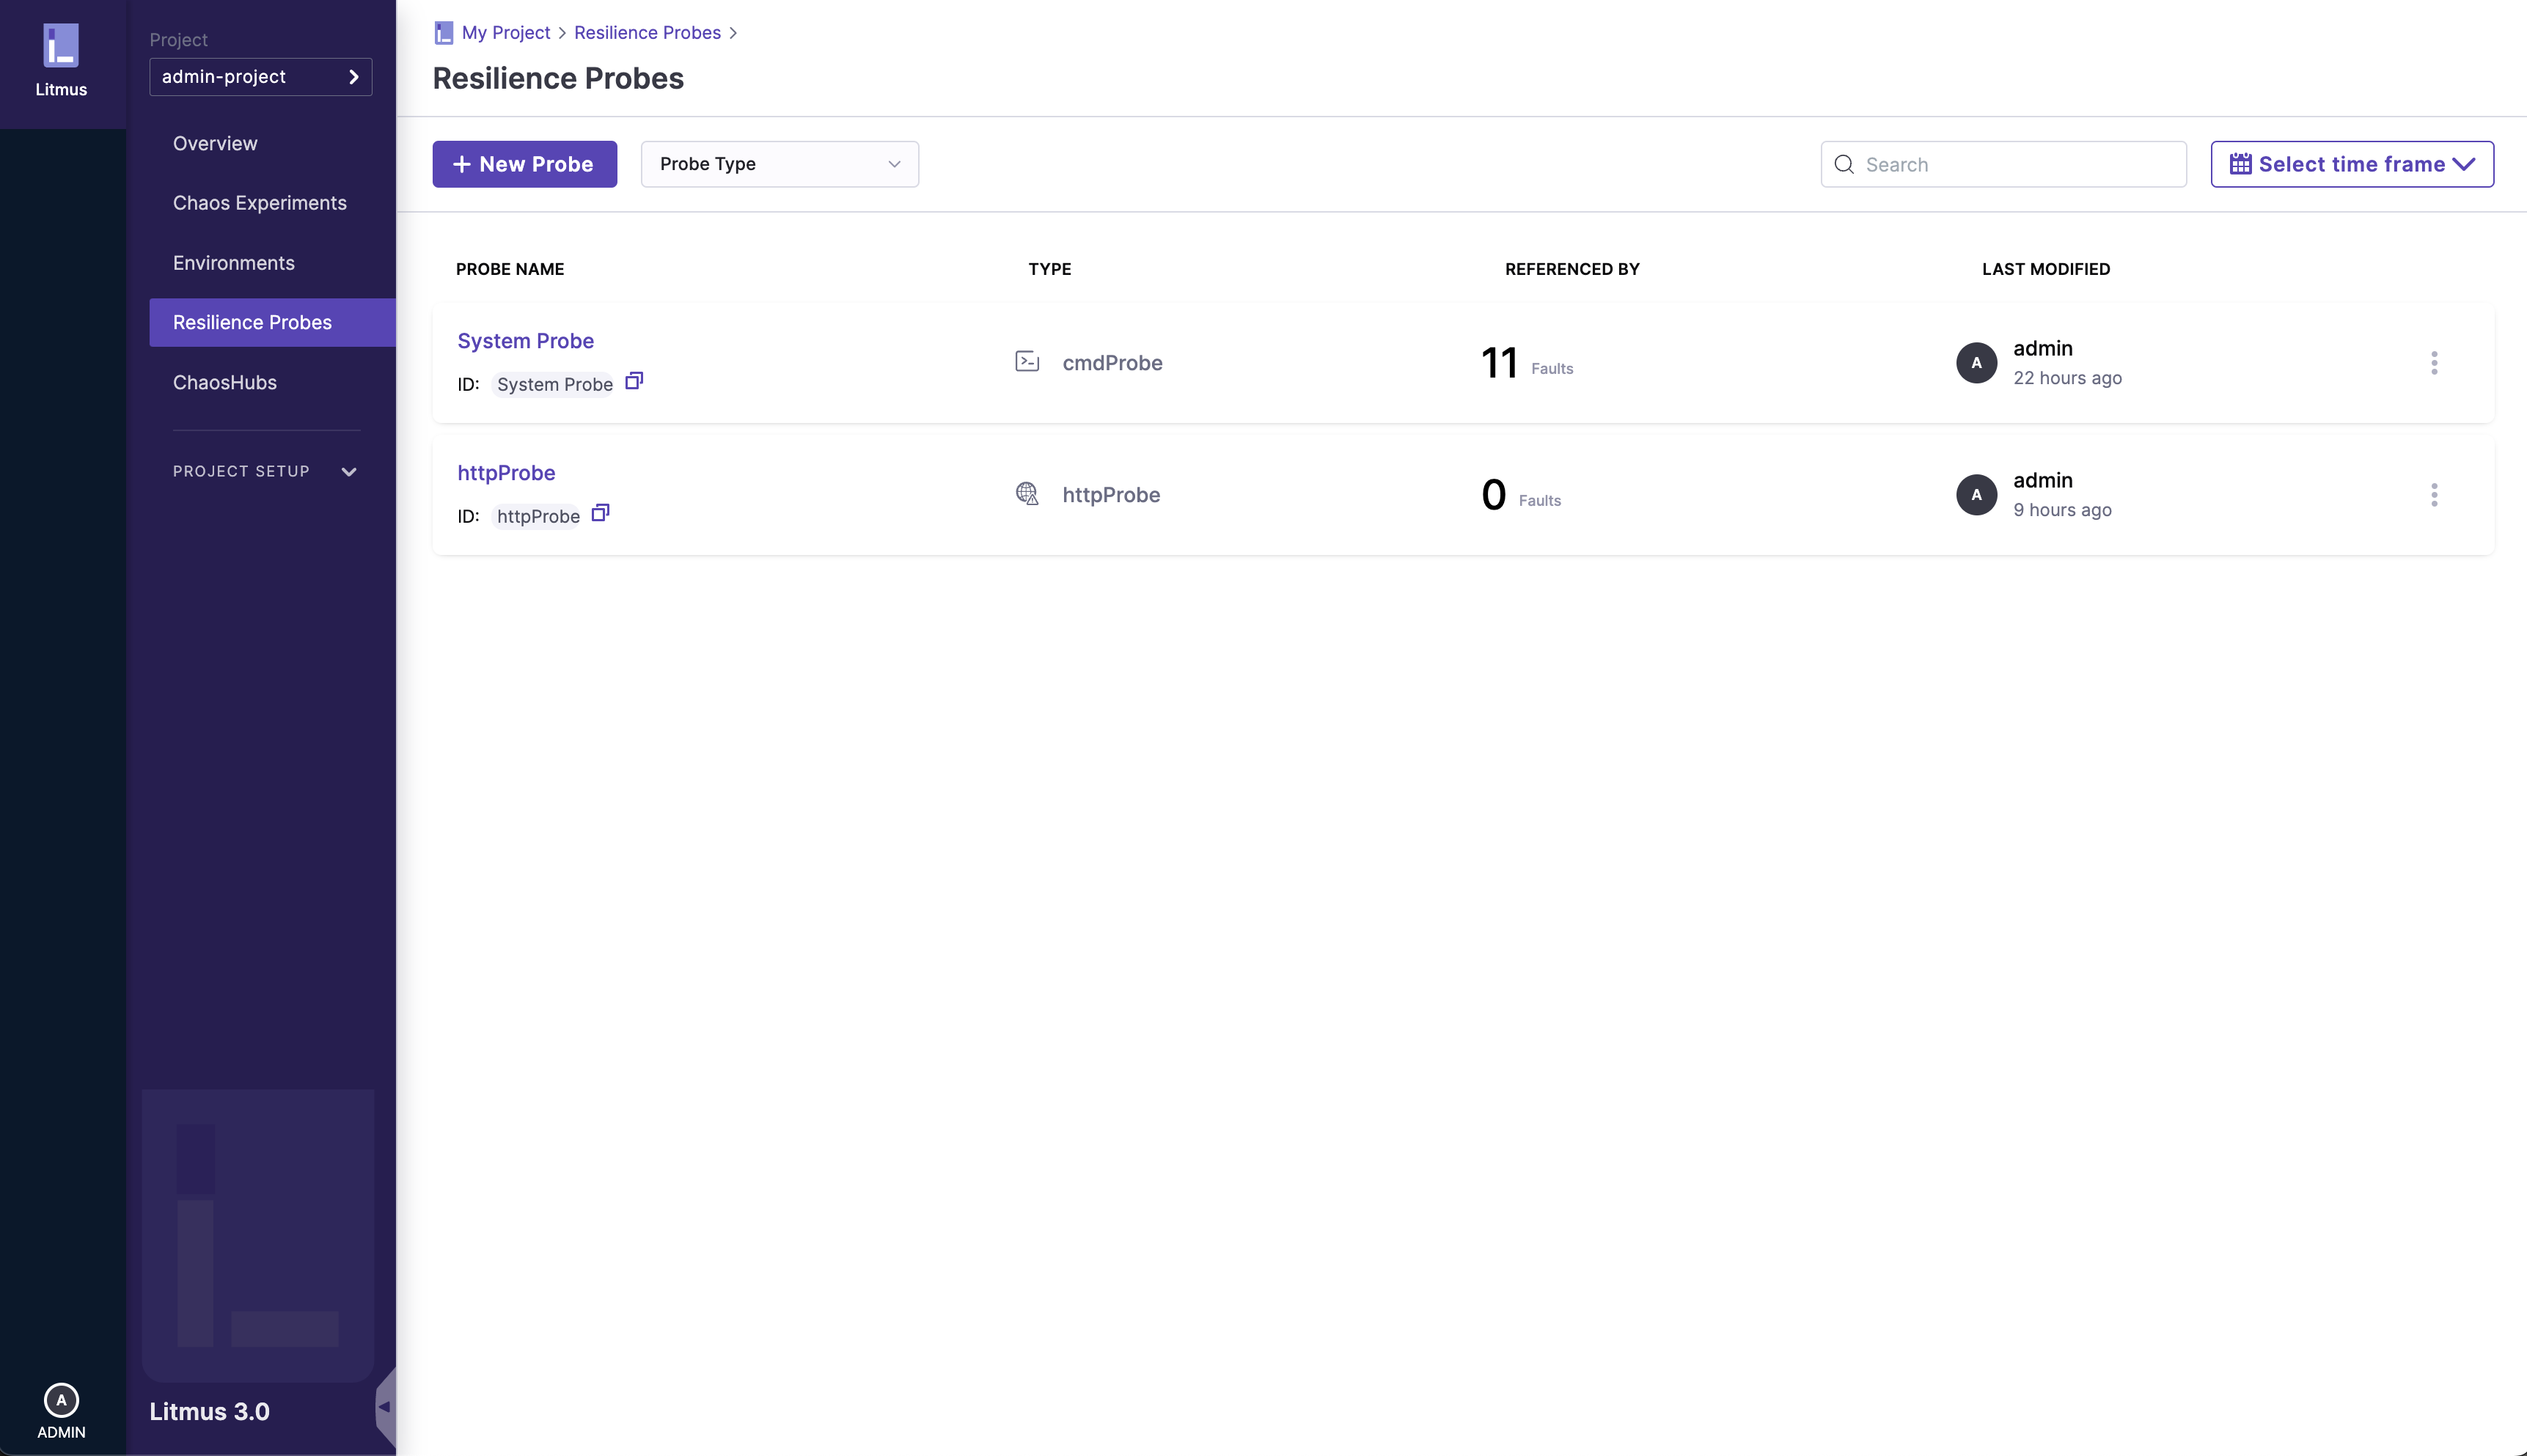
1. Go to the Resilience Probes section
Navigate to the /probes page (Resilience Probes on the left nav), and click on the New Probe button
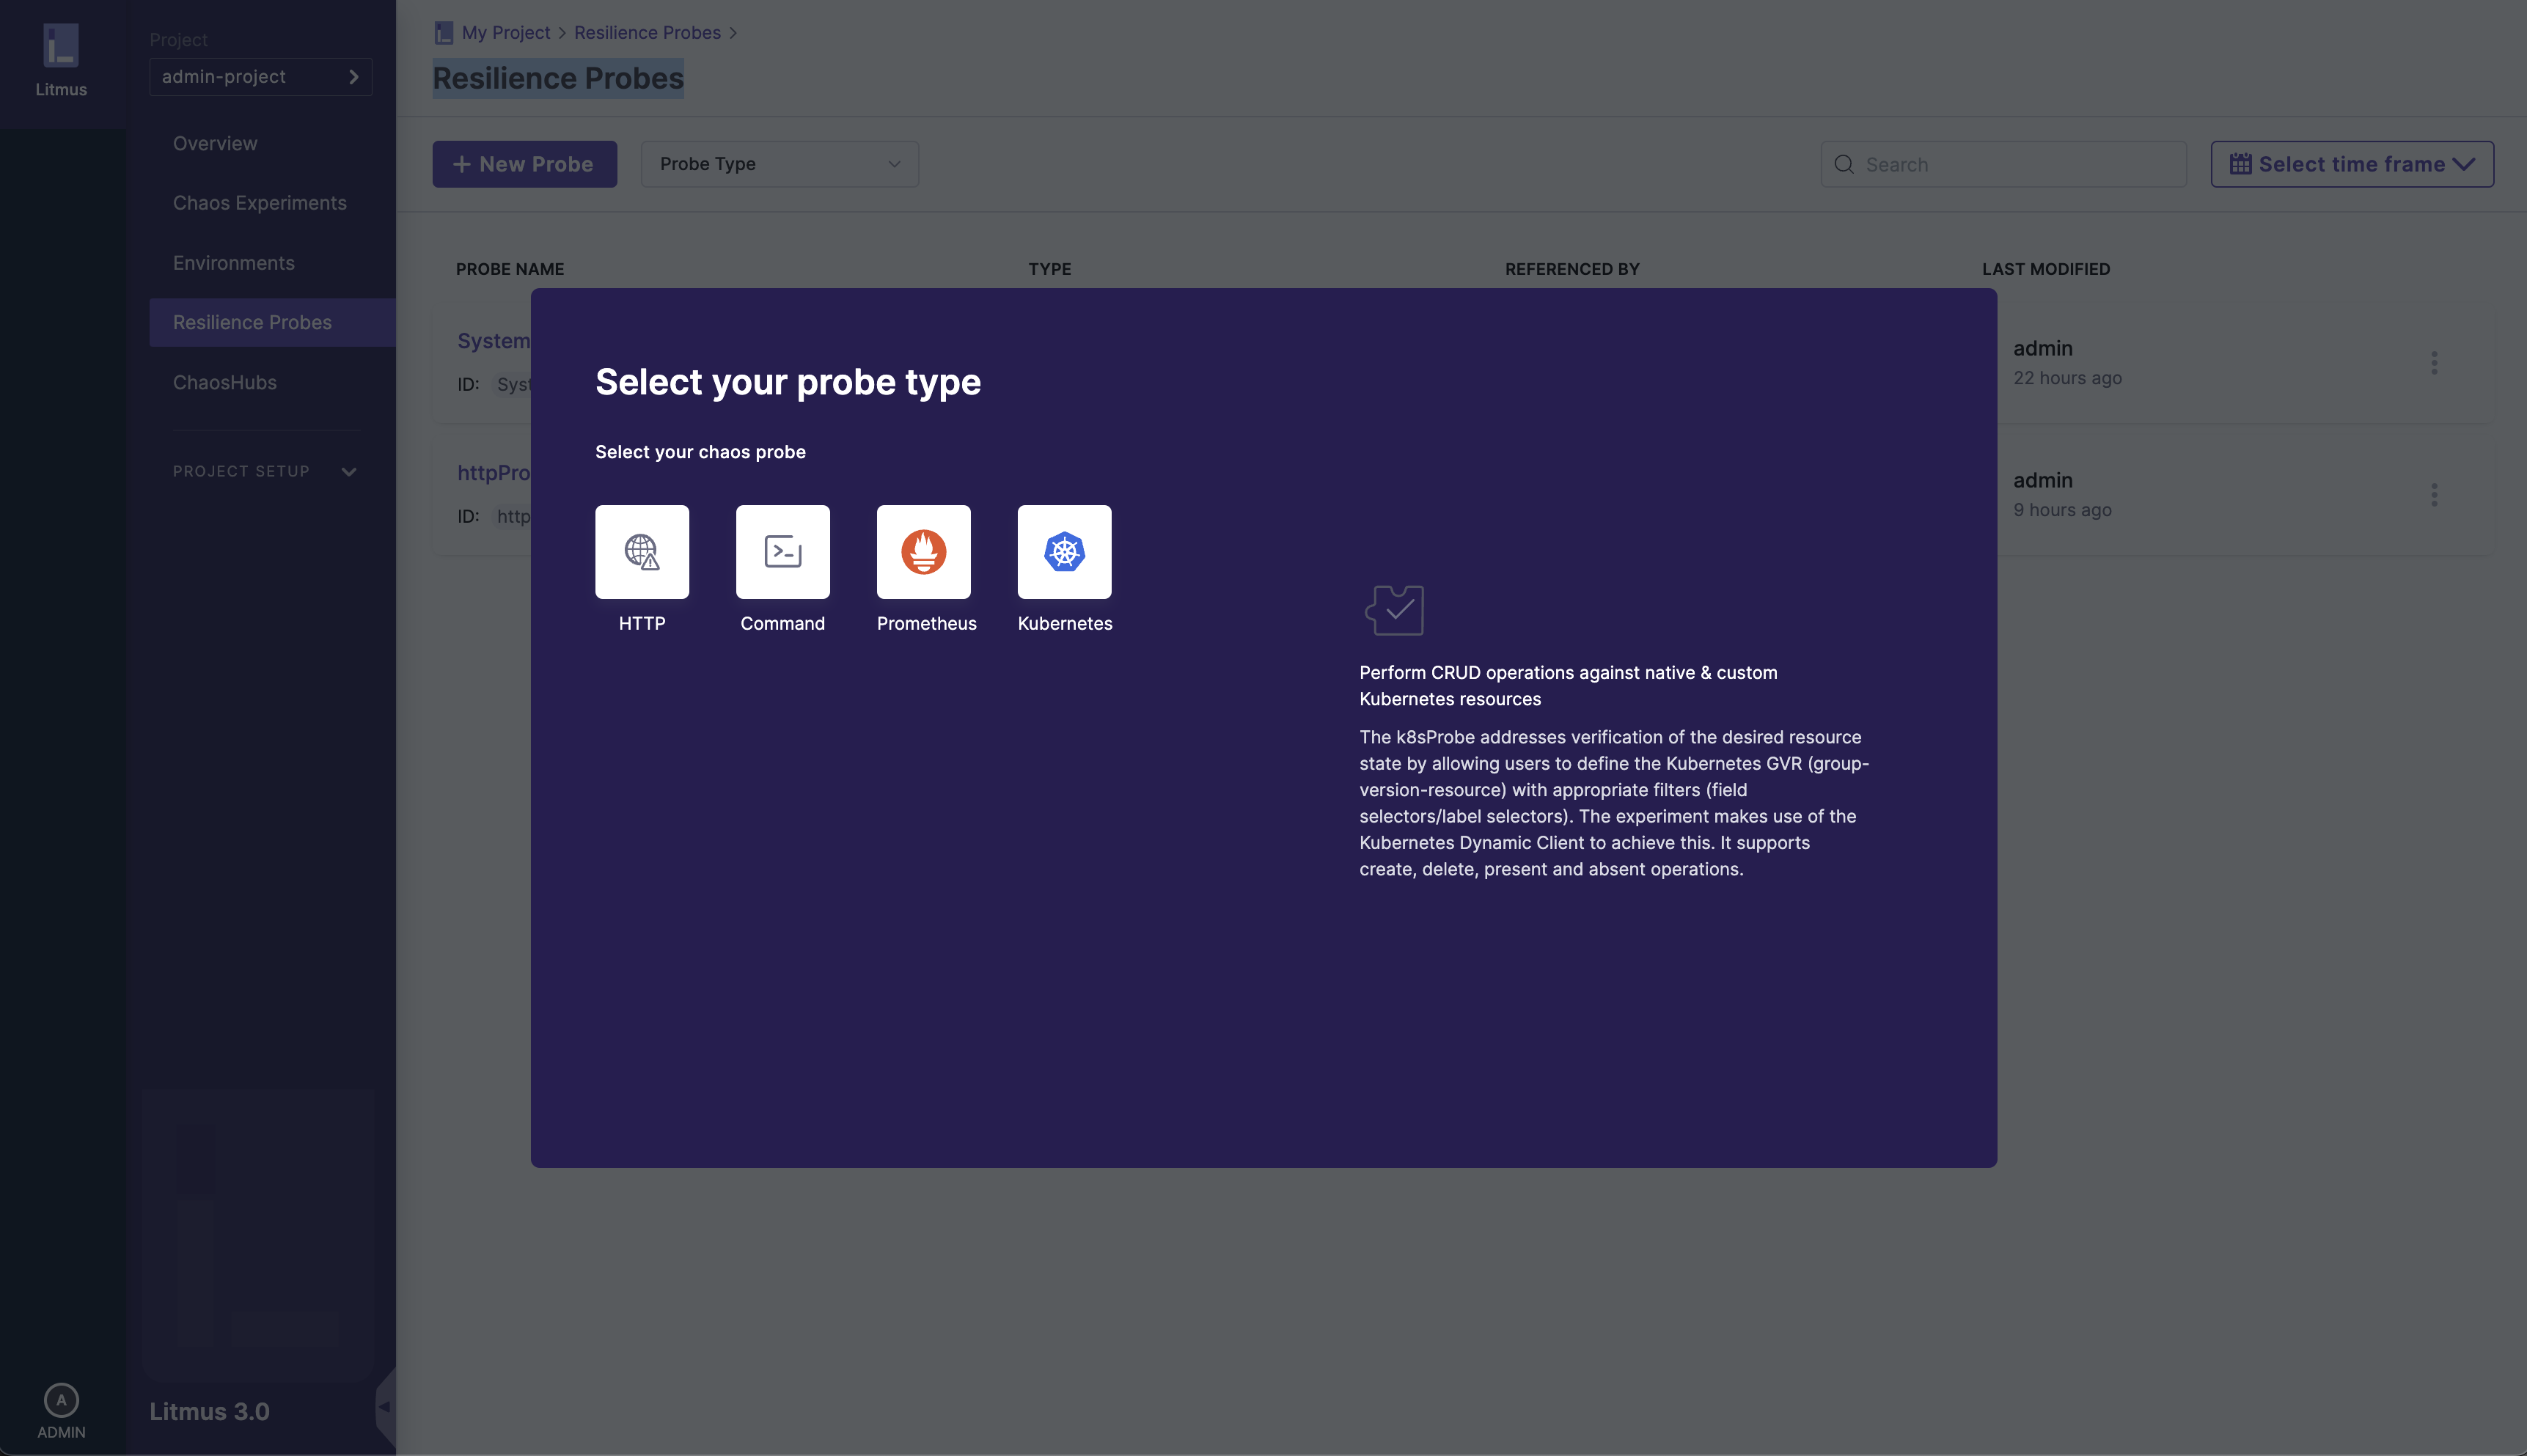
2. Select the type of probe
Select and click on the type of probe you would like to create, you can read about the available probe types here
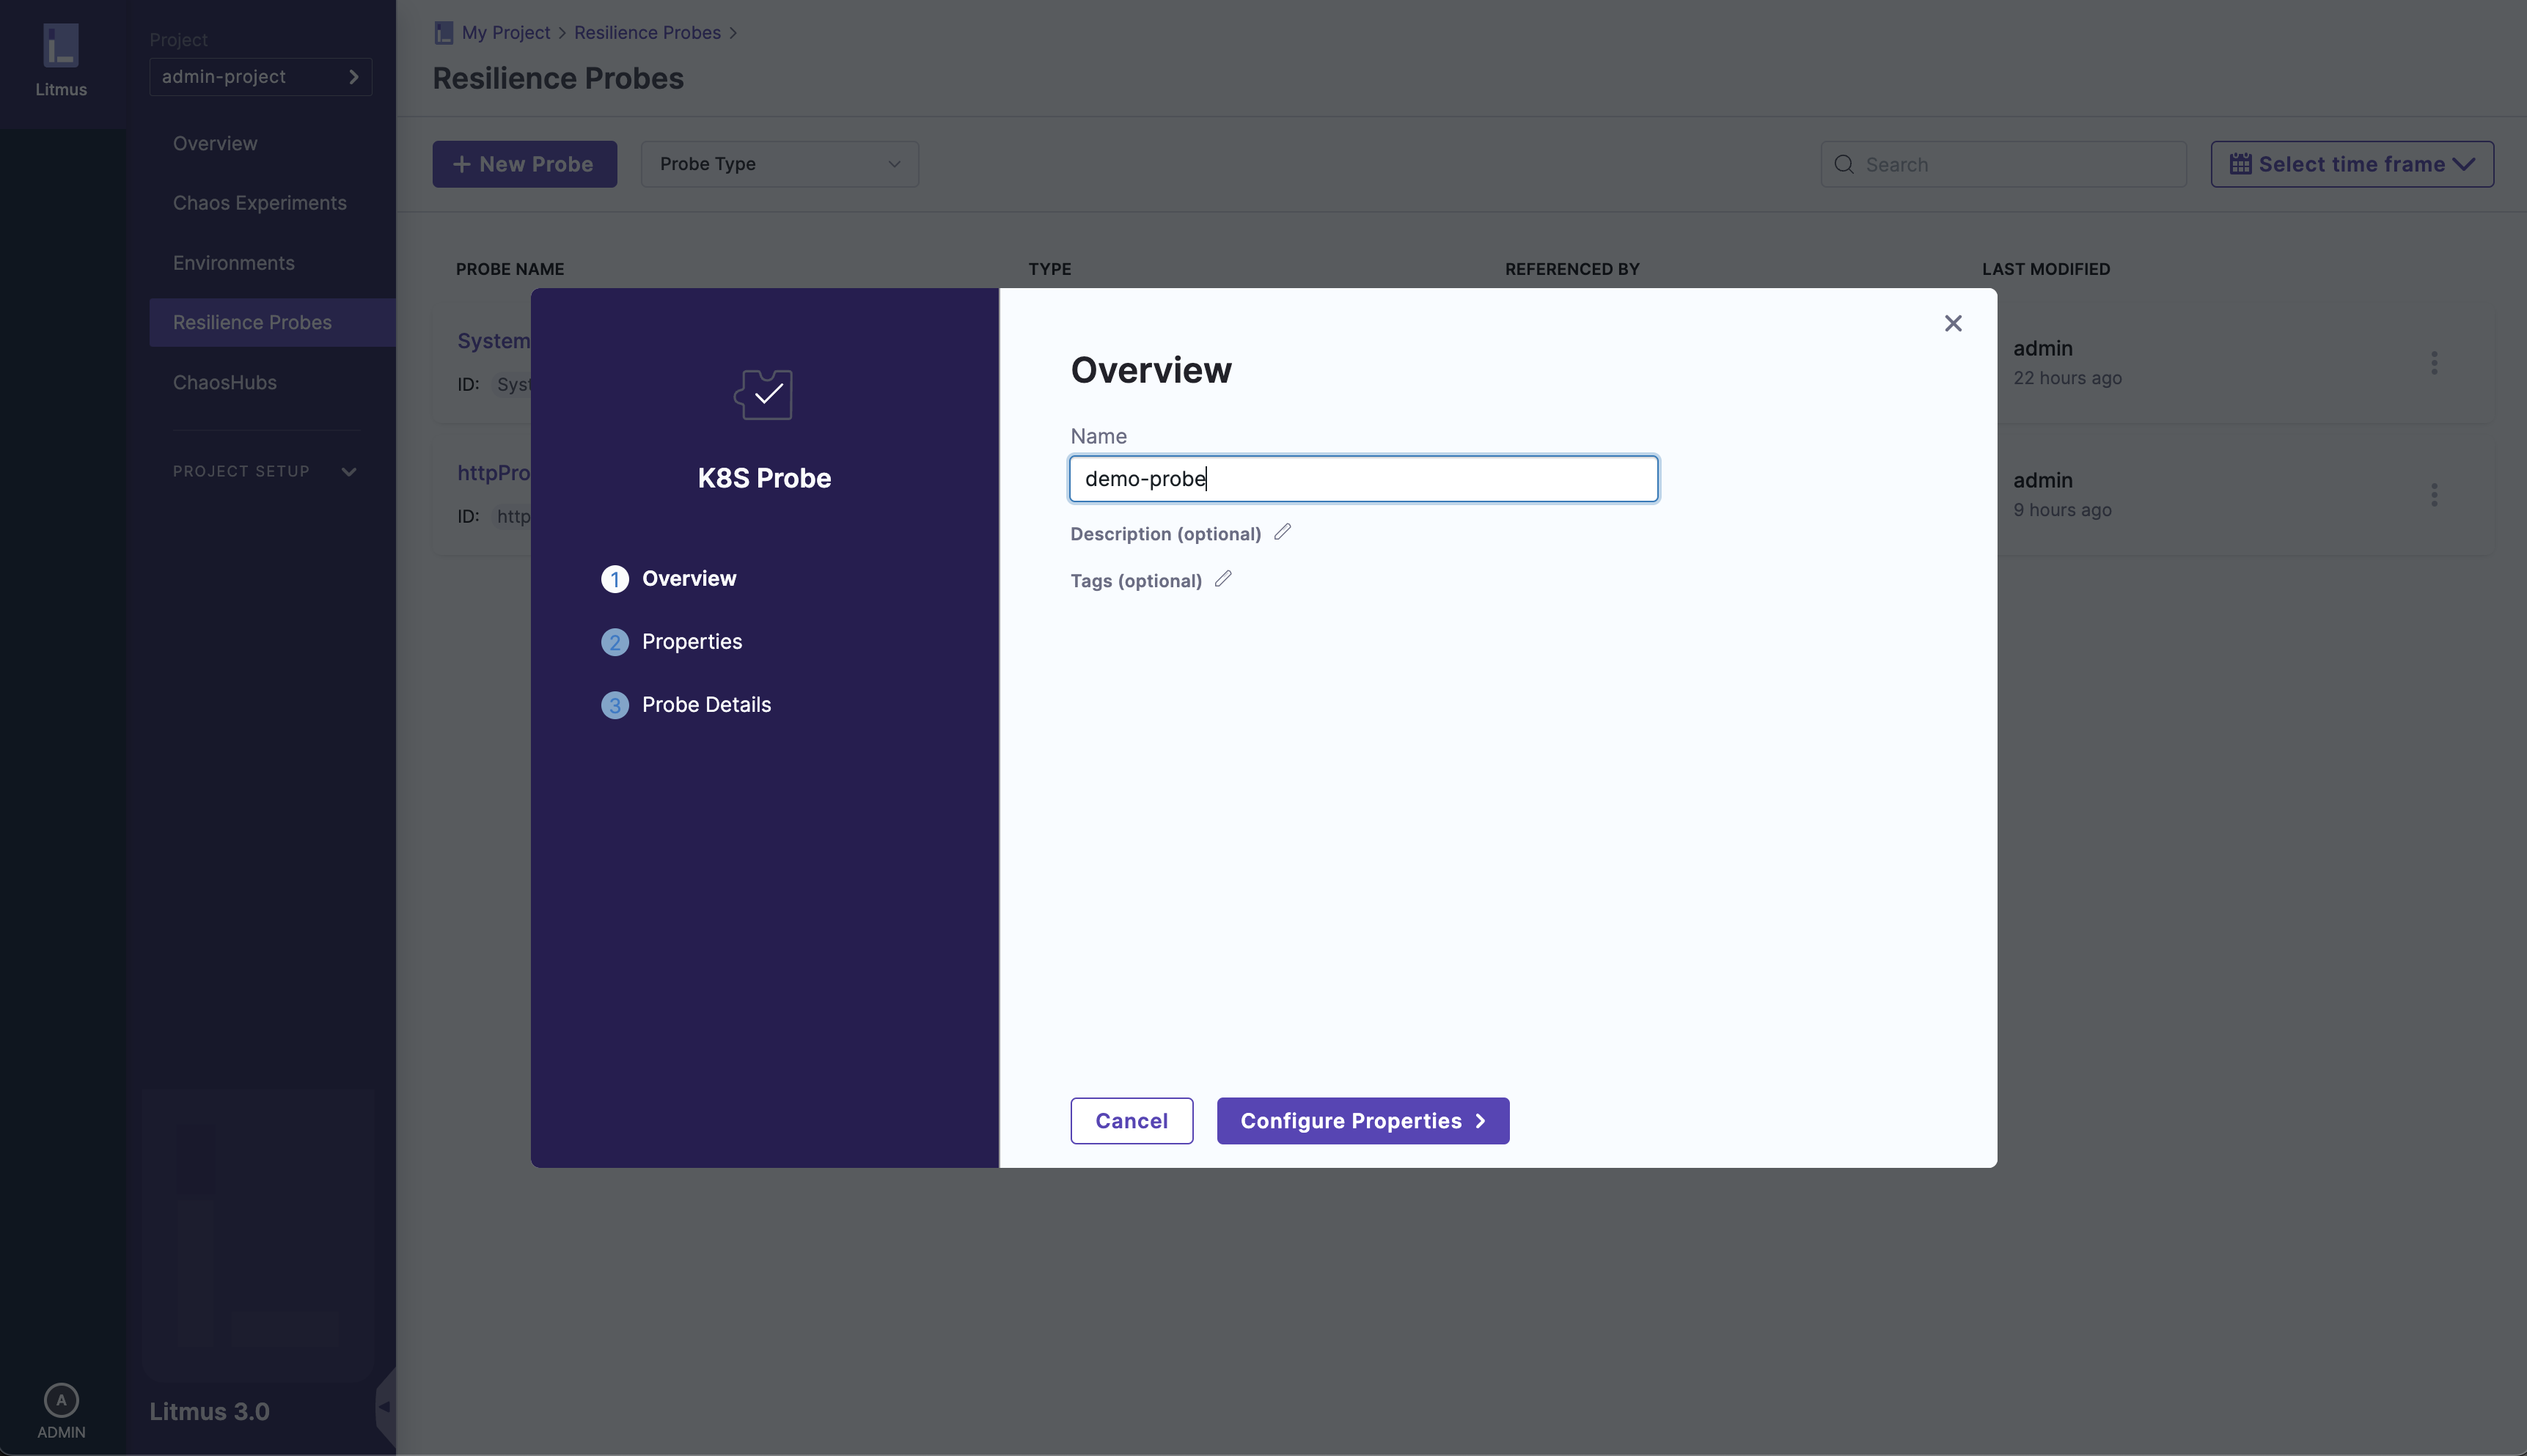
3. Enter the details of the probe to create
Enter the details of the probe such as name, description (optional), tags (optional)
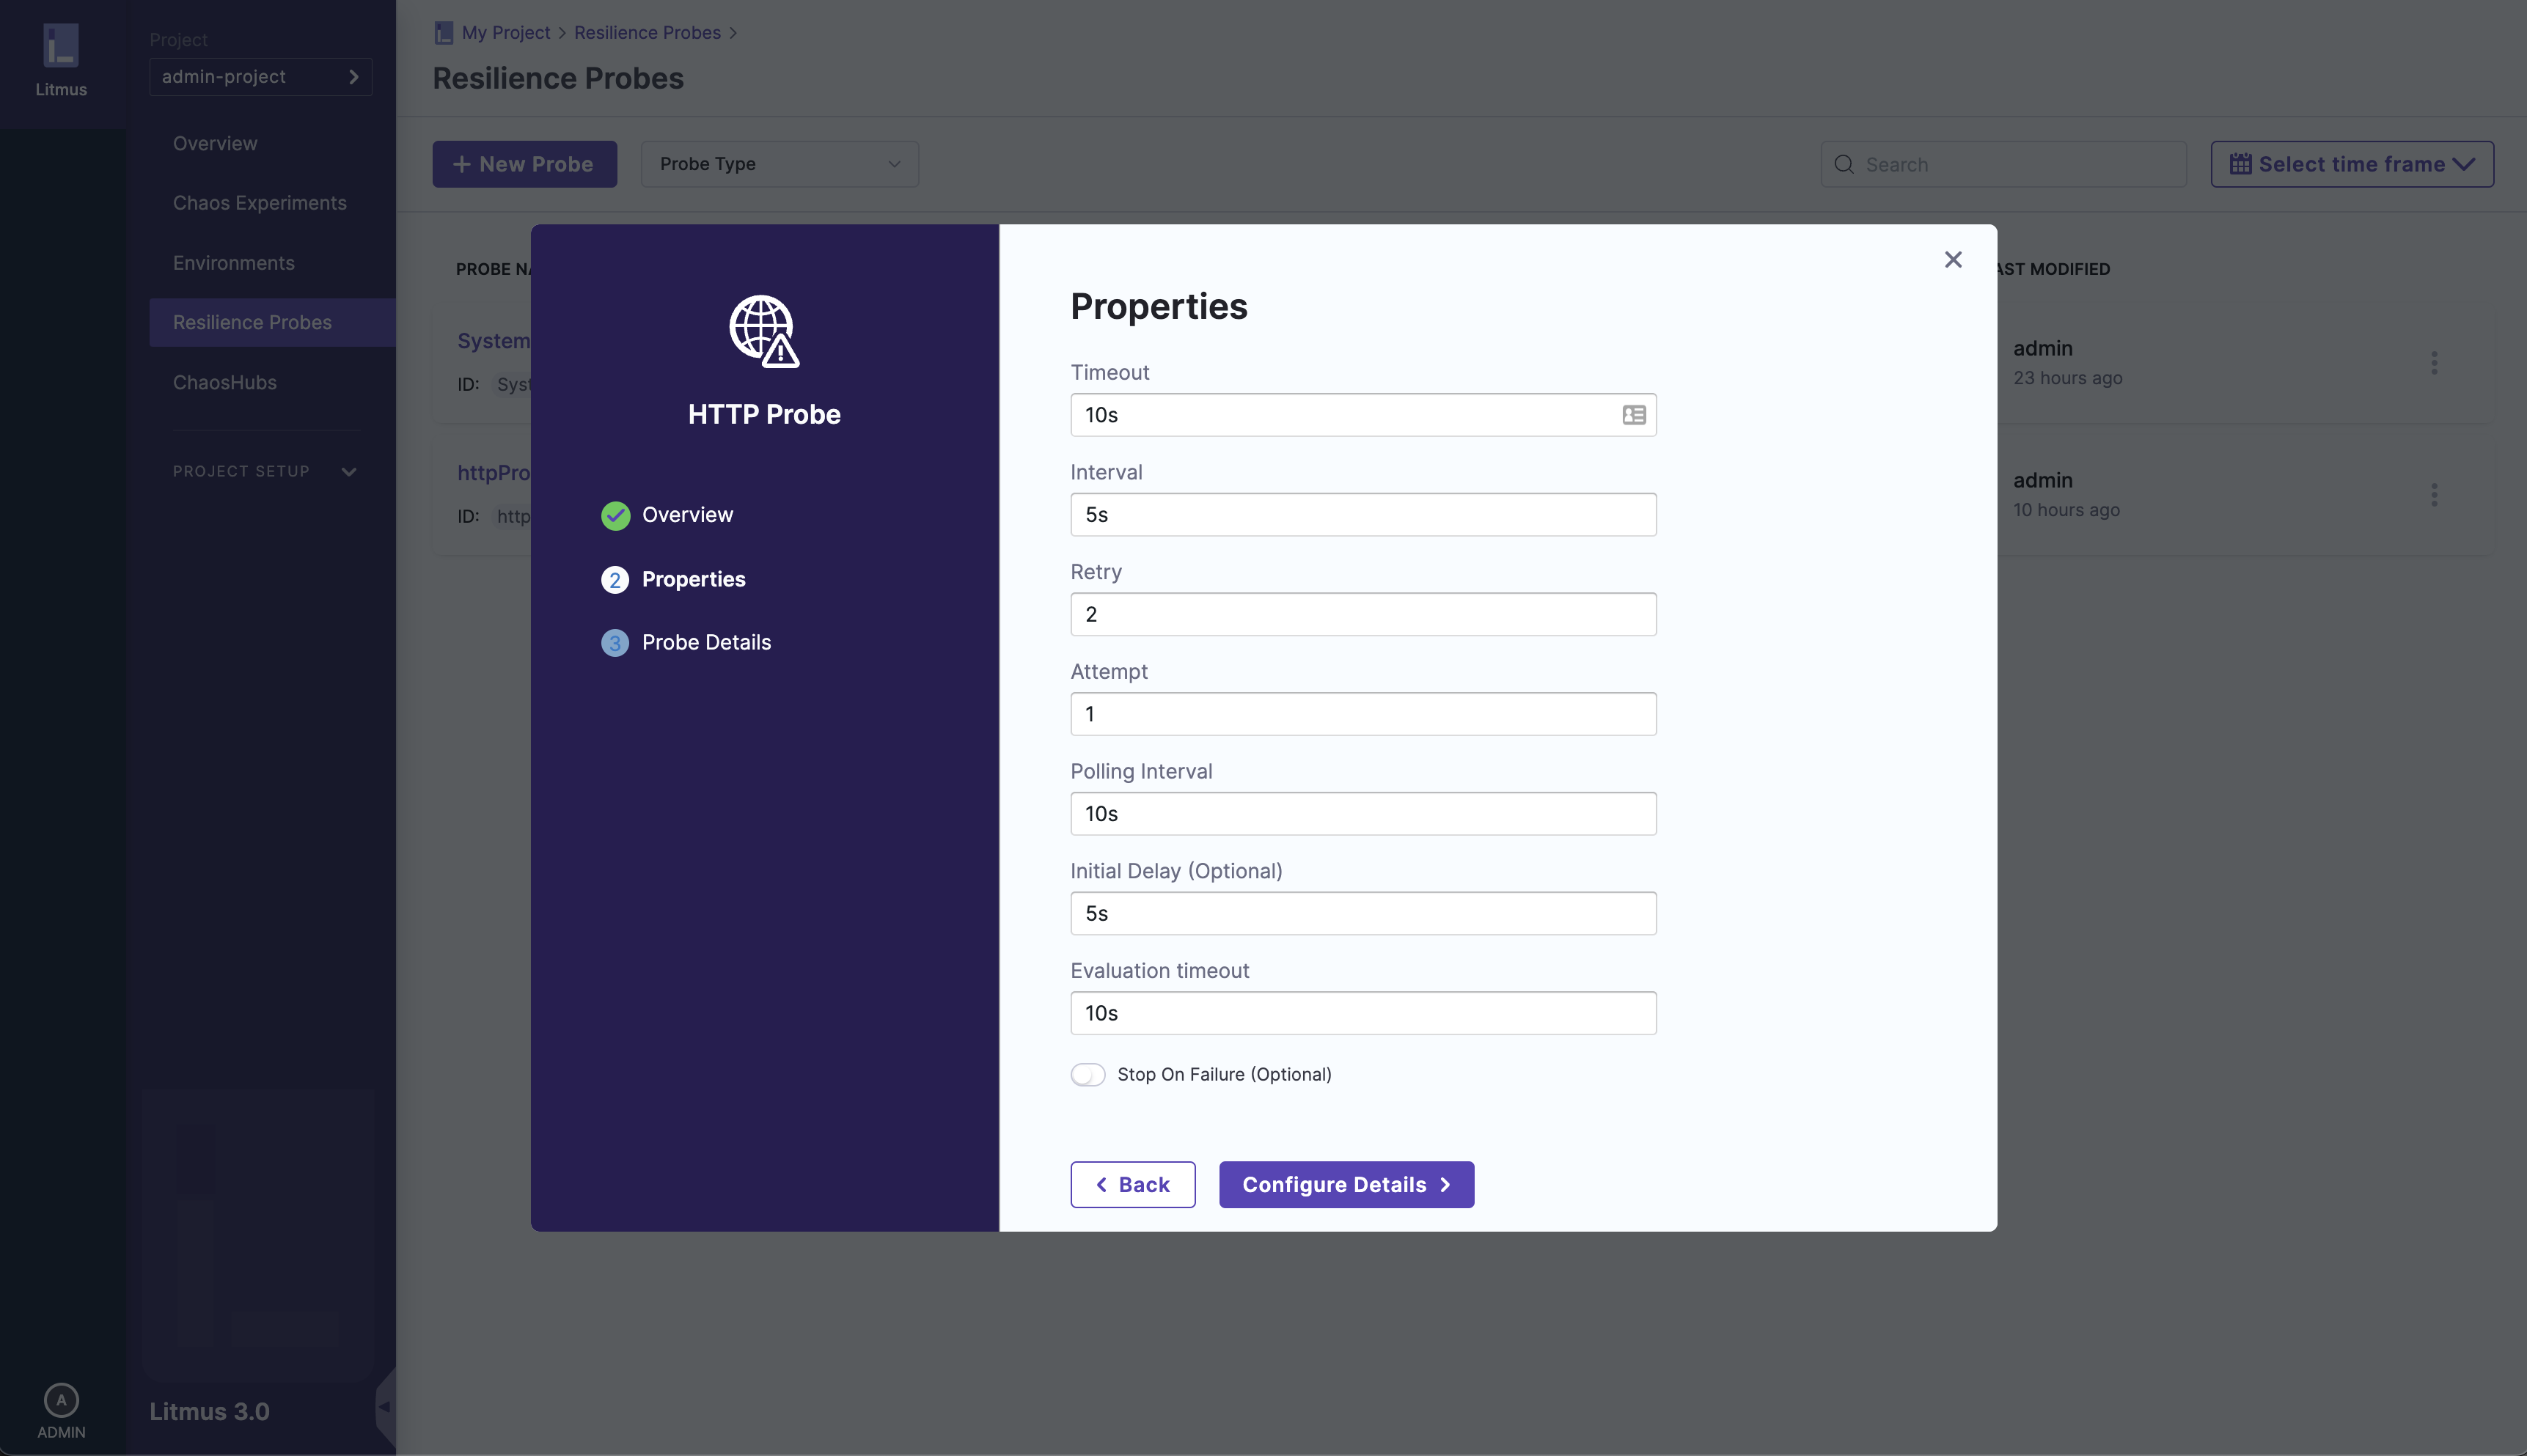
4. Configure the probe properties
Configure the properties for the probe you are creating, such as, Timeout, Interval, Retry, etc.
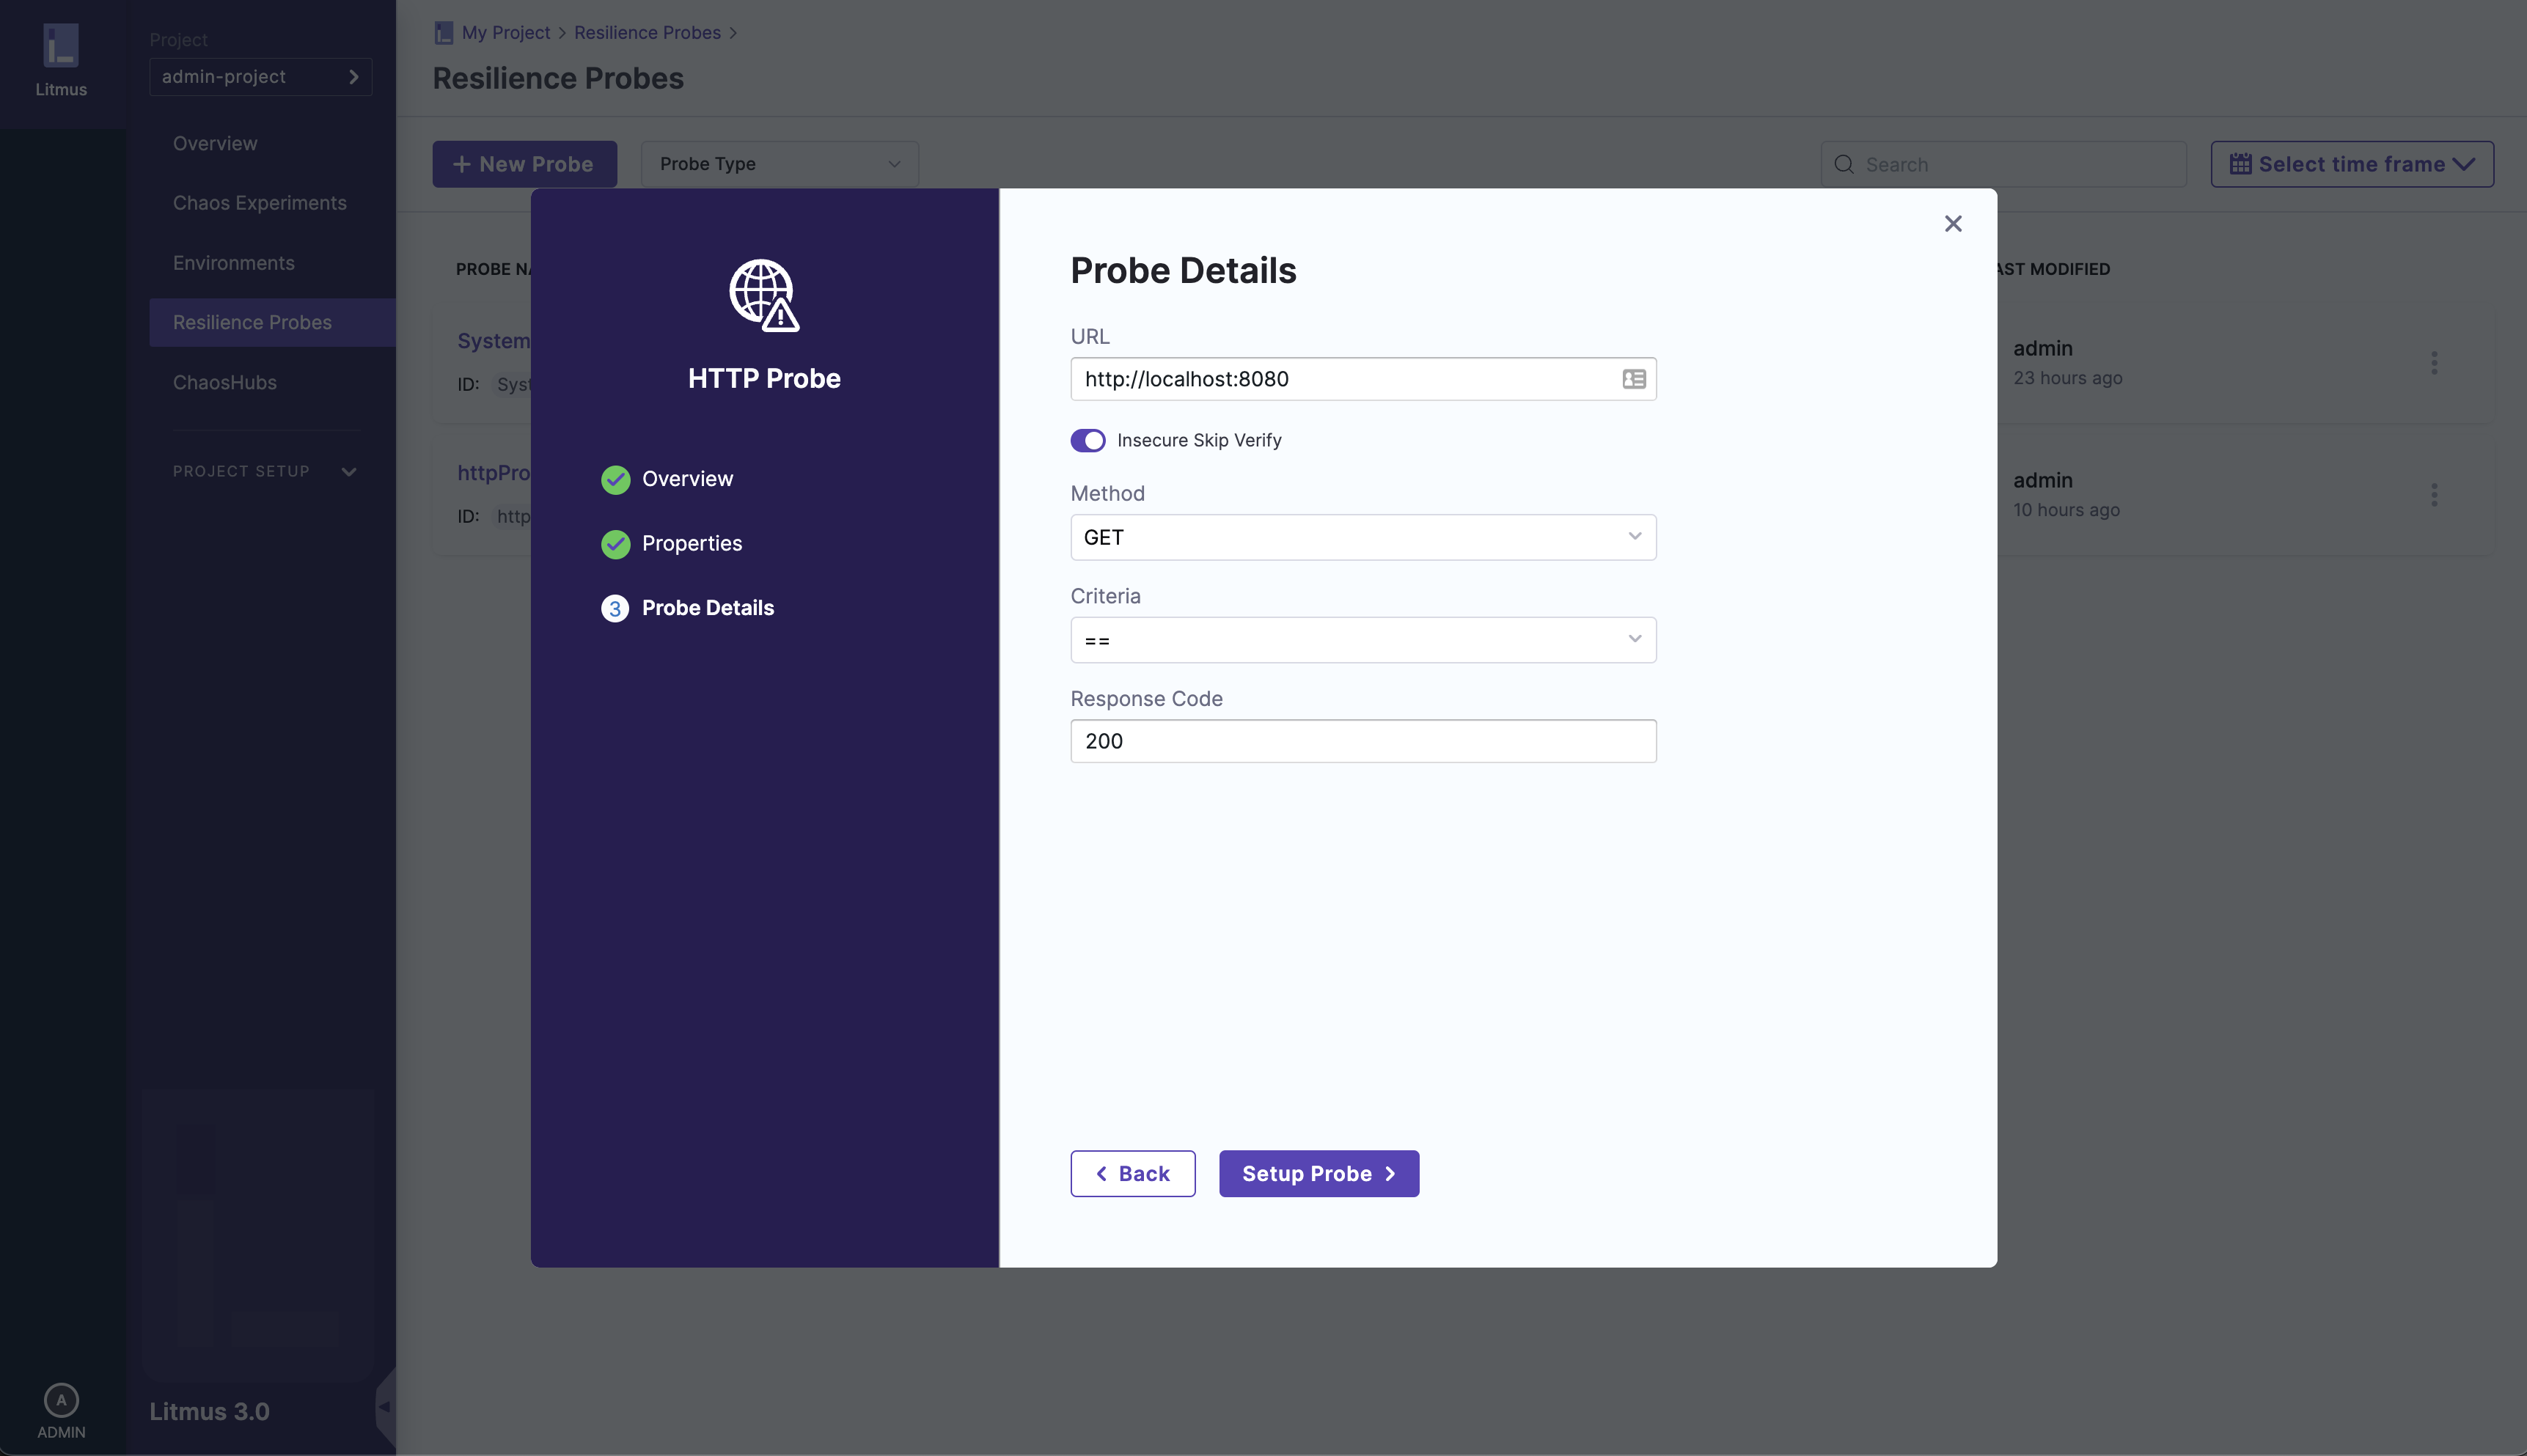
5. Configure the probe details
Configure the details for the probe you are creating, once completed, click the Setup Probe button
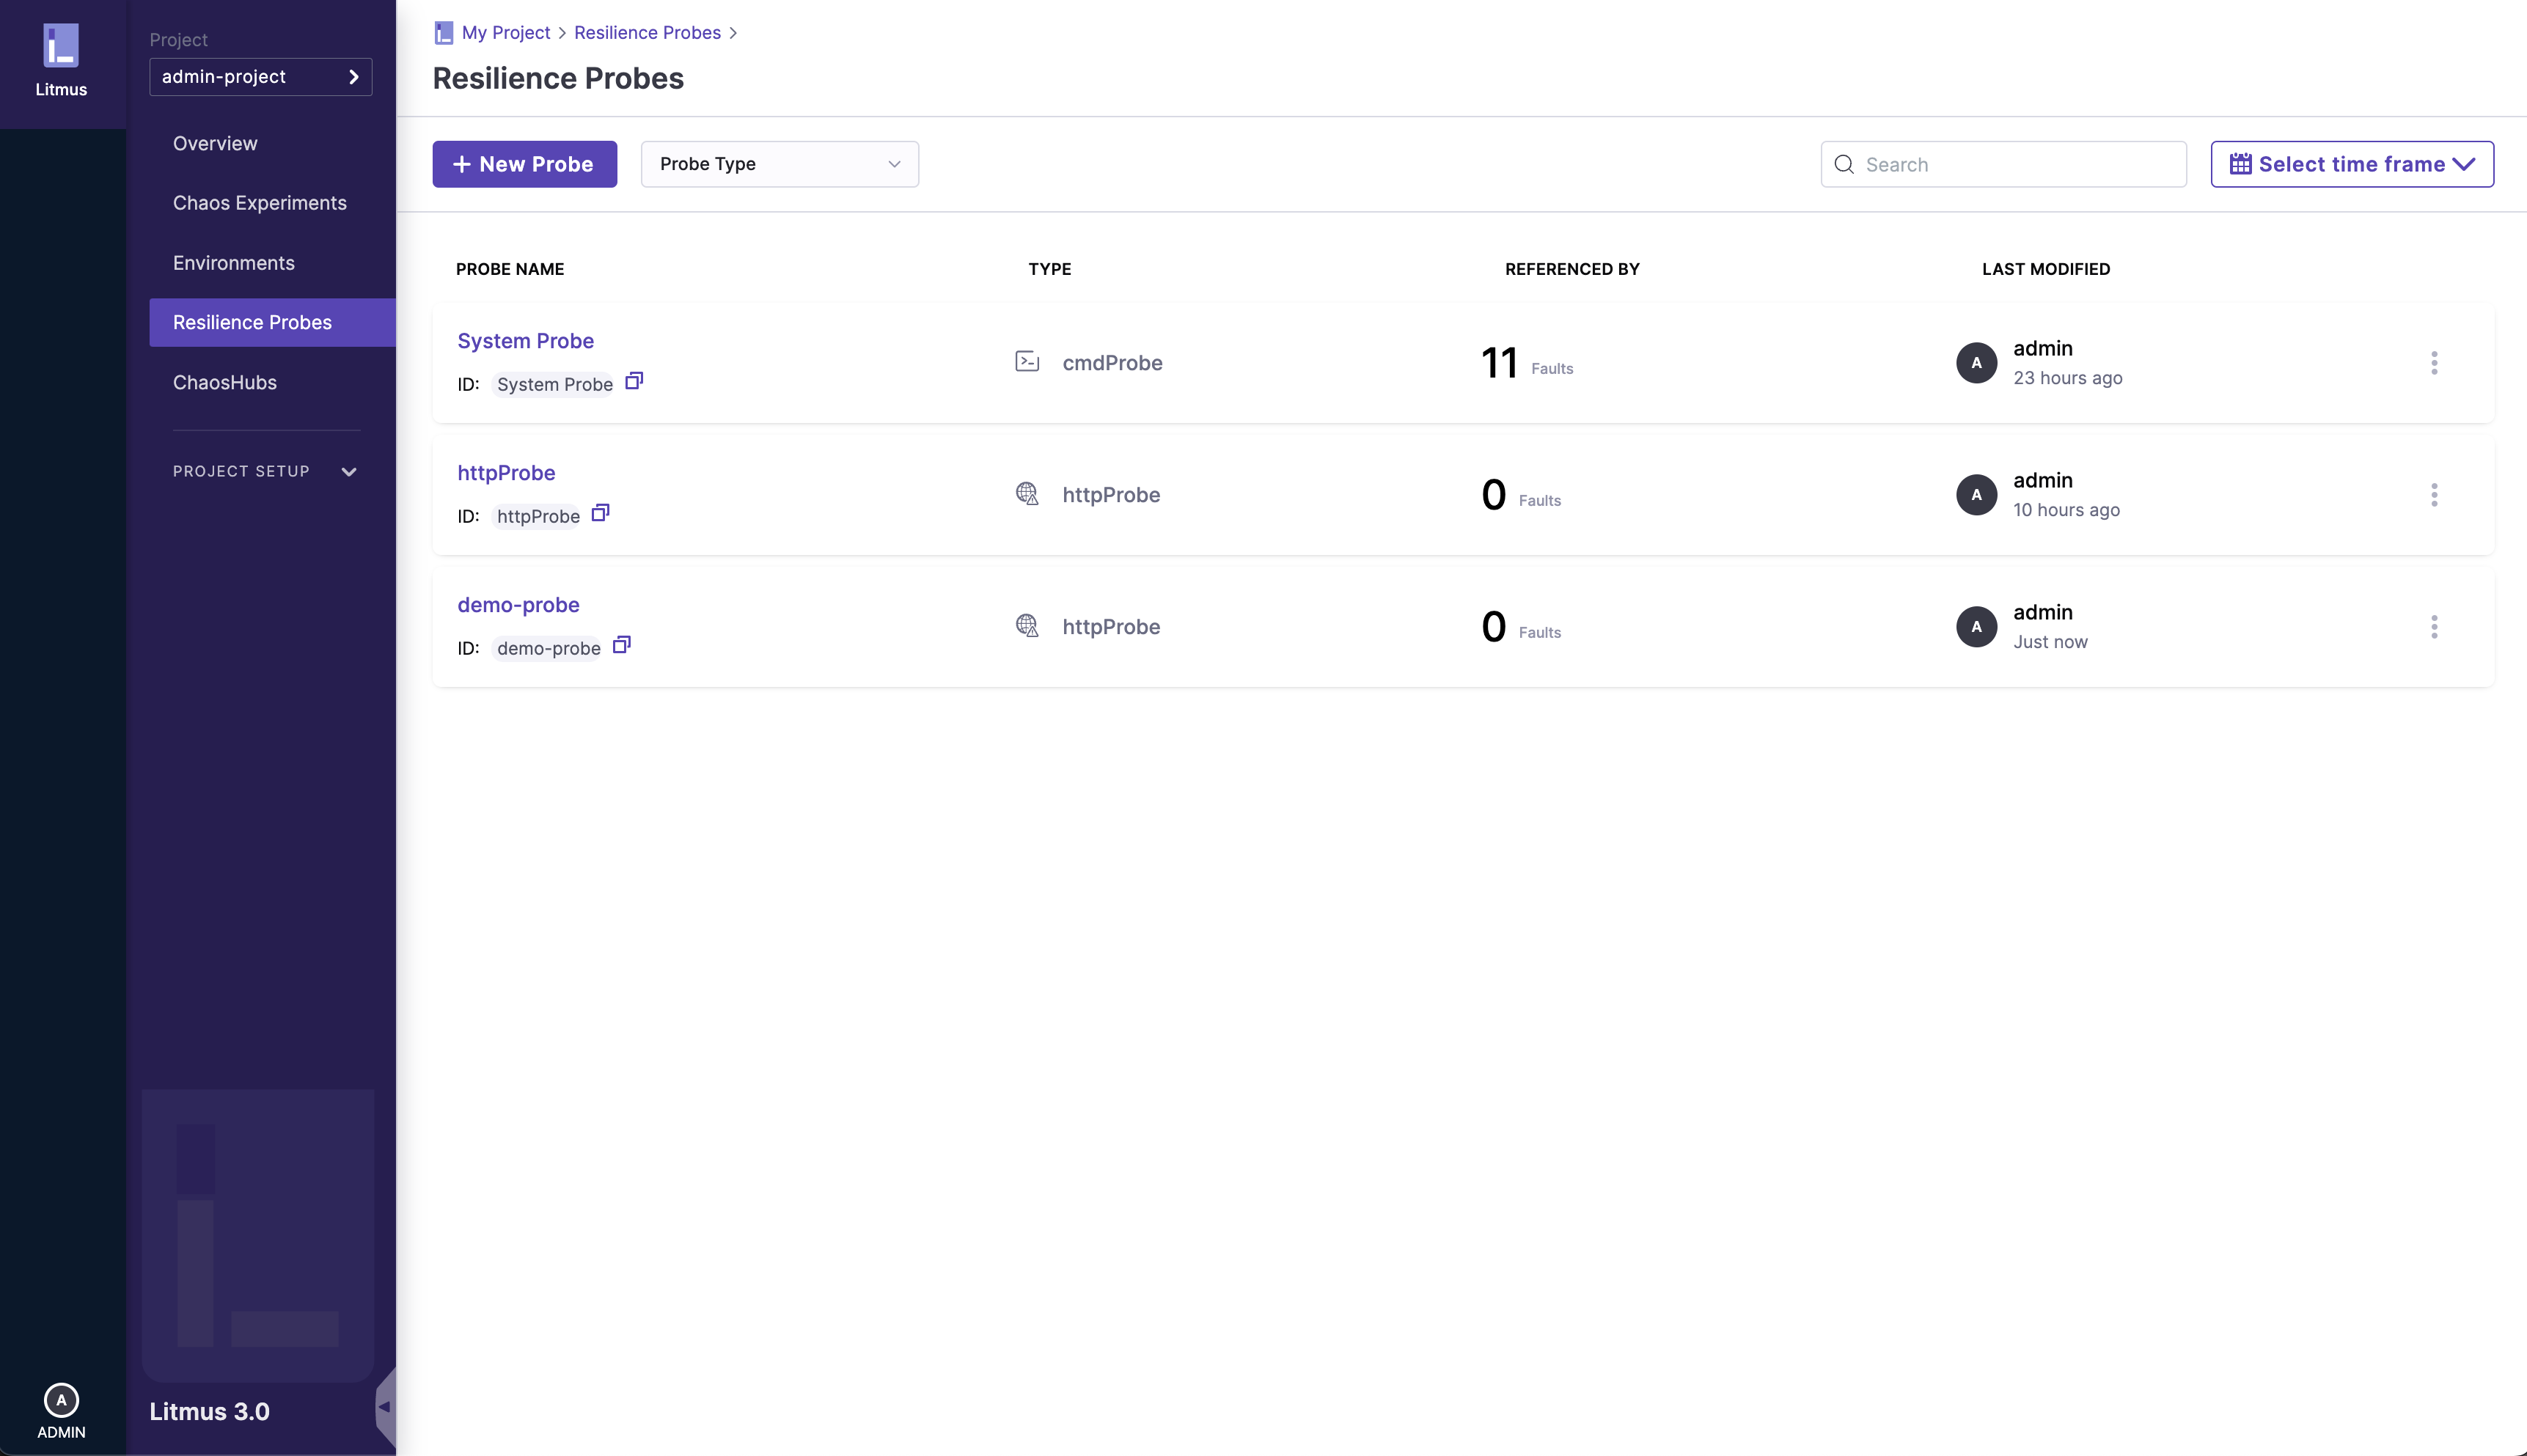
The new probe will appear in the list as shown:
Annotations for Experiment Configuration
When creating experiments, it's crucial to include a probeRef in annotations to link Resilience Probes with the experiment. This step enables seamless integration of probes into the chaos engineering workflow, whether creating experiments manually or uploading YAML configurations.
Example YAML manifest:
apiVersion: litmuschaos.io/v1alpha1
kind: ChaosEngine
metadata:
  name: example-chaos-engine
  namespace: litmus
spec:
  appinfo:
    appns: 'litmus'
    applabel: 'app=nginx'
  chaosServiceAccount: litmus-admin
  monitoring: false
  jobCleanUpPolicy: retain
  experiments:
    - name: pod-delete
      spec:
        components:
          env:
            - name: TOTAL_CHAOS_DURATION
              value: "30"
            - name: CHAOS_INTERVAL
              value: "10"
            - name: FORCE
              value: "true"
        annotationCheck: 'true'
        components:
          - name: runner
            value: "go"
Note: Add essential annotations, like annotationCheck: 'true', in the experiment's spec section to connect the Resilience Probe with the experiment and activate validation of the experiment configuration.Feel free to customize the YAML manifest according to your specific experiment requirements and configuration.
Identify Probe to Associate: Determine the Resilience Probe that you want to associate with the experiment.
Add probeRef in Annotations: In the experiment YAML configuration, include a
probeReffield in annotations and specify the name of the Resilience Probe. Ensure that theprobeRefis correctly formatted and matches the name of the chosen probe.Validate Annotations: Before initiating the experiment, validate the experiment YAML configuration to ensure that the
probeRefis properly included and associated with the Resilience Probe.